There are as many ways to make these little carbohydrate bombs of joy as there are ways to name and fill them. This is how I make them, a variation on this incredibly helpful recipe. My trusty stand mixer is invaluable for mixing the dough, which is notoriously difficult.
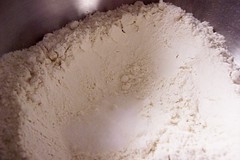
First, two and a half cups all-purpose flour and one teaspoon table salt are whisked together in the mixing bowl:
Next, add one whole egg, one egg yolk, and two generous tablespoons full-fat sour cream:

Mix well, drizzling in about a half cup lukewarm water:
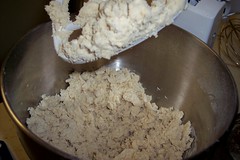
Gently knead the dough together and switch to the dough hook. Add about another tablespoon or two of water if necessary to get the dough bits to stick together to form a coherent mass.

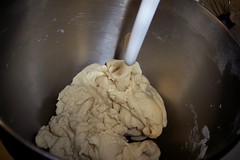
Let the dough knead on low speed for a bit, until it forms a smooth mass (~10-15 minutes). When it looks something like this, cover well and allow to rest for half an hour. I wrapped it in a damp paper towel and placed it in a plastic bag.
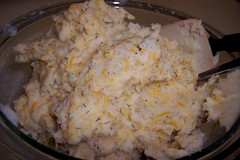
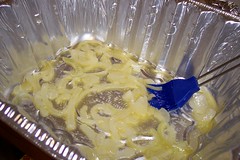
While the dough is resting (and happy gluten proteins are developing away), you can prepare the filling if you haven't already. This filling is made from potatoes boiled with cloves of preserved dilled garlic, mashed with a little sour cream, seasoned with salt, pepper, and dill then mixed with about a half cup minced onion softened in butter and shredded cheddar cheese.
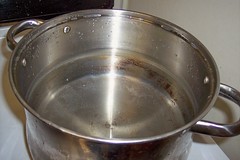
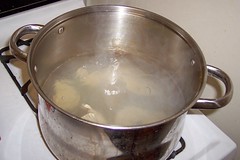
I have a large pot of water on to boil.
I also have sliced onions softened in *a lot* of butter (this isn't health food-- and the excess butter helps prevent the pierogies from sticking together in storage) ready to go.
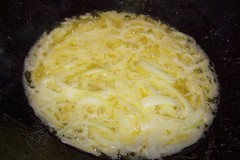
Some of the onions and butter are used to grease the pan in which they'll be frozen.
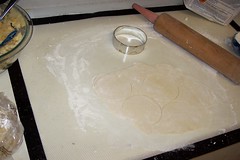
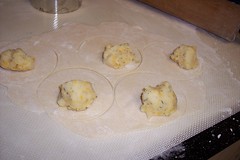
Now that at 30-45 minutes have passed, it's time to roll out the dough. Roll to ~1/16th of an inch thick and cut out using a round cutter 3"-4" in diameter. You can cut out squares with a knife or pizza cutter if you don't have a biscuit cutter. You can use a glass, but the edges tend to not be sharp enough. The dough is quite elastic and can be challenging to work by hand, especially the first time when you're getting a feel for the technique (I assure you that my recipe variation is actually the easiest to work of the ones I've tried). Scraps can be dipped in water and kneaded back together.
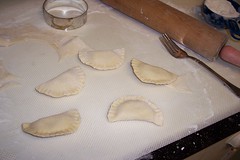
Place about a teaspoon of filling in the center of each. Really, that's ALL. About ONE teaspoon. Moisten edges with water, fold in half and pinch closed. Avoid air pockets at all costs.
I crimp the edges with a fork to make sure they're sealed well.
Drop into boiling water, making sure to stir within the first minute to ensure even cooking and to avoid air pockets that can cause the pierogies to burst.
Once they float, I give them about another minute, then scoop them out of the water and drop them into the waiting butter and onion bath.
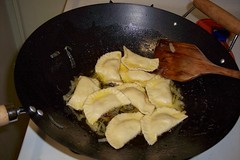
Out of the butter and onions and either into your mouth, or into the pan to freeze.
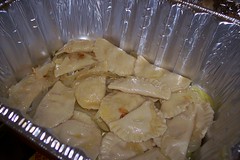
I get about 60 or so out of this recipe. Five or so fist-sized all-purpose potatoes make about twice the amount of filling needed for one recipe of dough. A tightly sealed pan can be frozen for use later. The pan can be thawed out for a day, then placed in a low oven tightly covered with foil for about 45 minutes to an hour. Or zapped, covered with plastic wrap to keep them from drying out.
And there you have it! They're a hell of a lot of work-- allow yourself at least four hours-- but they really are miles apart from their commercially available cousins.
No comments:
Post a Comment